Raspberry Pi , is a wonderful tiny credit card sized computer created by people who were passionate about education. It is a little device that enables people of all ages to explore computing and to learn how to program in languages like Python and Scratch. Due to its small size and relatively low power consumption, it is also widely used by IOT (Internet of Things) enthusiasts.
The Raspberry Pi landscape has been dominated so far by Linux based operating systems like Raspbian, OpenELEC and the very recent Snappy Ubuntu.
With Microsoft rolling out a version of Windows to this platform, it provides an opportunity for many more people to be engaged with the magic of Raspberry Pi.
Step by Step
- Download the Windows 10 IOT image for Raspberry Pi from here (around 500 MB).
- Extract Windows_10_IoT_Core_RPi2.msi, from the ISO image that was downloaded in the previous step. I used the popular 7-zip to extract.
- Install Windows_10_IoT_Core_RPi2.msi on your computer. I used a Windows 7 computer for this.
- Run ‘Windows IOT Core Image Helper’ from start menu.
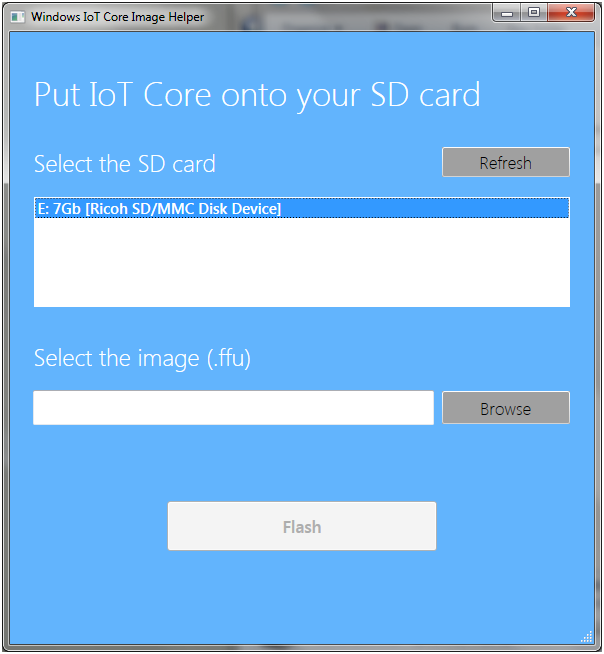
- Select the correct SD card from the list.
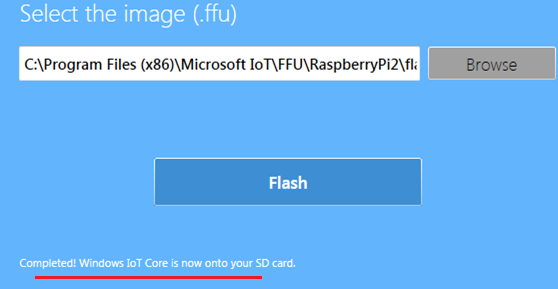
- Select the .ffu image file which is installed in the folder: ‘C:\Program Files (x86)\Microsoft IoT\FFU\RaspberryPi2’.
- Click on ‘Flash’ button.
- The ‘Deployment Image Servicing and Management Tool’ will run which will transfer the ffu image file to the SD card.
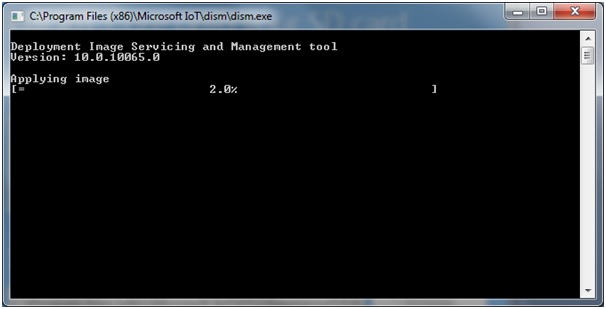
- This process takes some time, so please be patient until the status at the bottom shows as below.
- I checked how the partitions are divided on the SD card using the Mini Partition Tool, here’s a screenshot.
![]()
- After it is successfully installed, pop the SD card into the Raspberry Pi and power up. I used the Raspberry Pi 2 Model B, the one with the 1GB RAM on it.
- Again, the process takes some time, so please be patient.
- Unfortunately, there is no Wifi support (yet), so I plugged mine over an ethernet cable to the router.
- As I connected it as headless (without connected to a monitor), I watched my router to find out the IP address after it boots up.
- The default hostname of the new Windows 10 IOT device is ‘minwinpc’
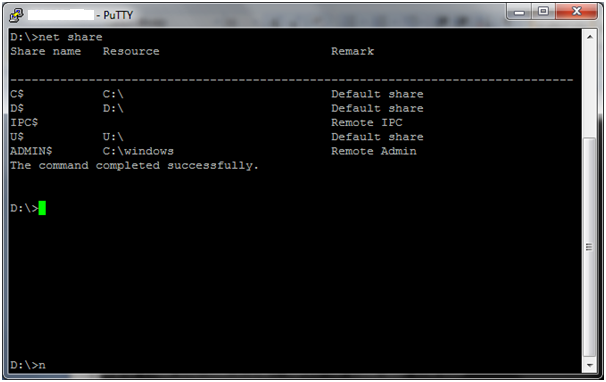
- Now connect over SSH (you can also use powershell) using the default credentials (username: Administrator, password: p@ssw0rd)
- After logging in over SSH a familiar DOS like interface is displayed with the familiar C:\> prompt.
- Below screenshot shows the default shares setup on the device.
Congratulations! Windows 10 IOT has been successfully setup on your Raspberry Pi!
References:
- https://dev.windows.com/en-us/iot
- http://ms-iot.github.io/content/en-US/win10/SetupRPI.htm
- https://github.com/ms-iot/samples
- https://www.raspberrypi.org/